Firstly, wow.
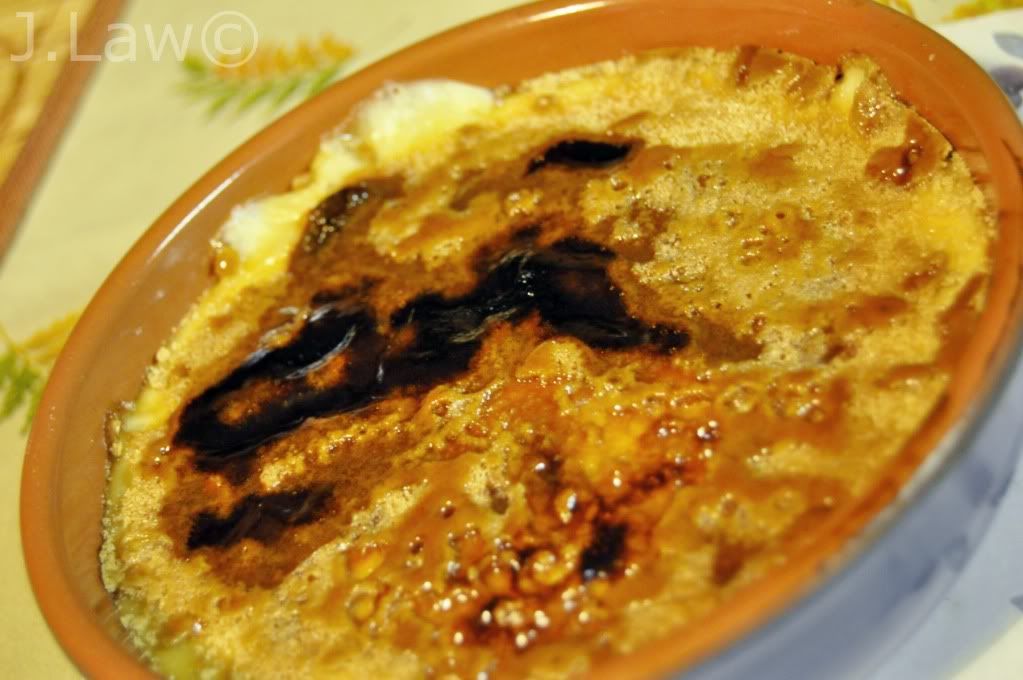
Who'd have thought vegan Crème brûlée could be so good?!
It's even pretty simple to make.
It's basically soya cream and soya milk, with a little golden syrup, plenty of vanilla extract and a little cinnamon, boiled with Vege-gel and cornflour to thicken it. Then sprinkled with a nice soft brown sugar and put under the grill until the sugar melts into a thick crispy shell on the top. Delicious!
Jen x
Saturday, 30 April 2011
Kale Chips & leaf-free salad!
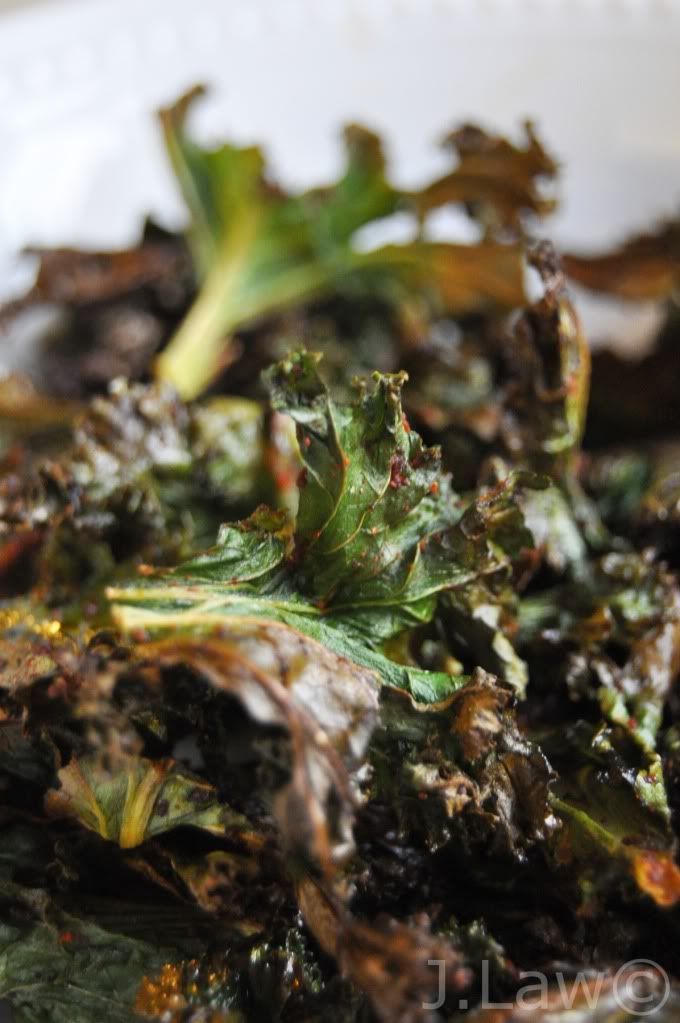
Kale chips are a wonderful healthy alternative to crisps.
They taste like a cross between standard potato crisps and Chinese 'seaweed'.
Basically, they're delicious, easy to make, and can be seasoned as you like.
Essentially, you cover an oven tray with a single layer of washed and cut Curly Kale. You mainly want leaves; avoid having too much stem.
Lightly mist them with a spray cooking oil, then sprinkle them with the seasoning of your choice - I made mine paprika flavoured by sprinkling them with half a crumbled vegetable stock cube, generous amounts of dried & ground paprika, and a little Parmazano.
Then, you cook them at about 180 degrees for 7-12 minutes until they're crispy and slightly brown around the edges.
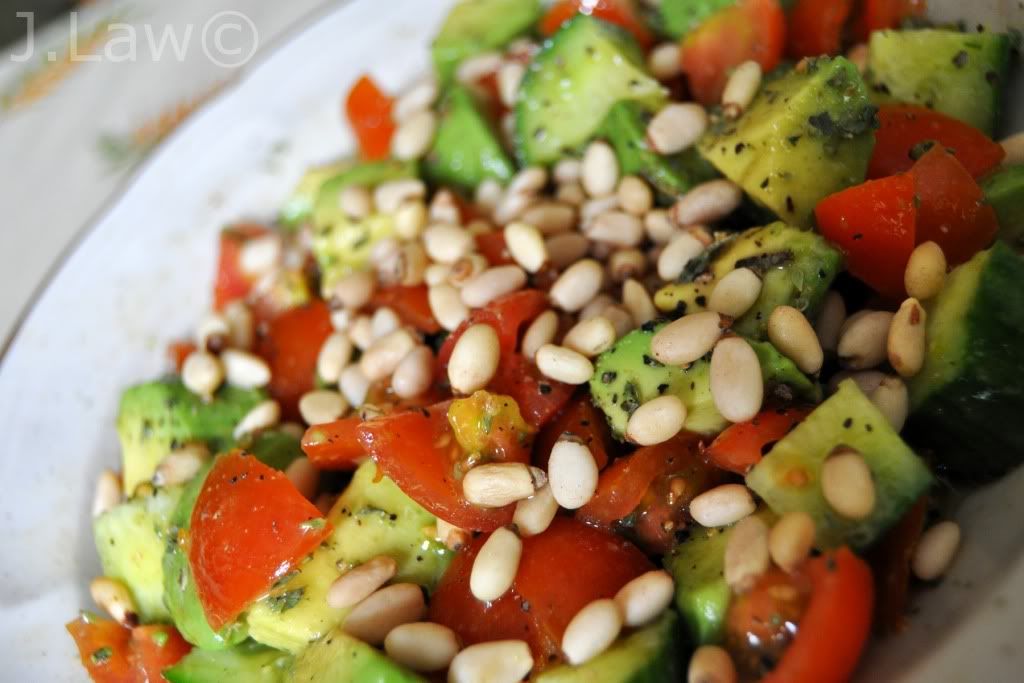
Also, in the summer, I get urges to make lots of nice cool salads. Since it's been such nice weather lately, I've been making a lot of salads (as you may have noticed). The latest is a fantastically healthy, but leaf-free salad of chopped cucumber, cherry tomatoes and avocado, drizzled with Turkish extra virgin olive oil, the aforementioned Greek oregano, freshly-ground black pepper, and all the tomato juice/seeds that came out whilst they were being chopped. Topped simply with some pine nuts. Delicious!
Jen x
They taste like a cross between standard potato crisps and Chinese 'seaweed'.
Basically, they're delicious, easy to make, and can be seasoned as you like.
Essentially, you cover an oven tray with a single layer of washed and cut Curly Kale. You mainly want leaves; avoid having too much stem.
Lightly mist them with a spray cooking oil, then sprinkle them with the seasoning of your choice - I made mine paprika flavoured by sprinkling them with half a crumbled vegetable stock cube, generous amounts of dried & ground paprika, and a little Parmazano.
Then, you cook them at about 180 degrees for 7-12 minutes until they're crispy and slightly brown around the edges.
Also, in the summer, I get urges to make lots of nice cool salads. Since it's been such nice weather lately, I've been making a lot of salads (as you may have noticed). The latest is a fantastically healthy, but leaf-free salad of chopped cucumber, cherry tomatoes and avocado, drizzled with Turkish extra virgin olive oil, the aforementioned Greek oregano, freshly-ground black pepper, and all the tomato juice/seeds that came out whilst they were being chopped. Topped simply with some pine nuts. Delicious!
Pizza Slices
Once again, I've developed rather a backlog.
I think the problem is that I cook too much food!
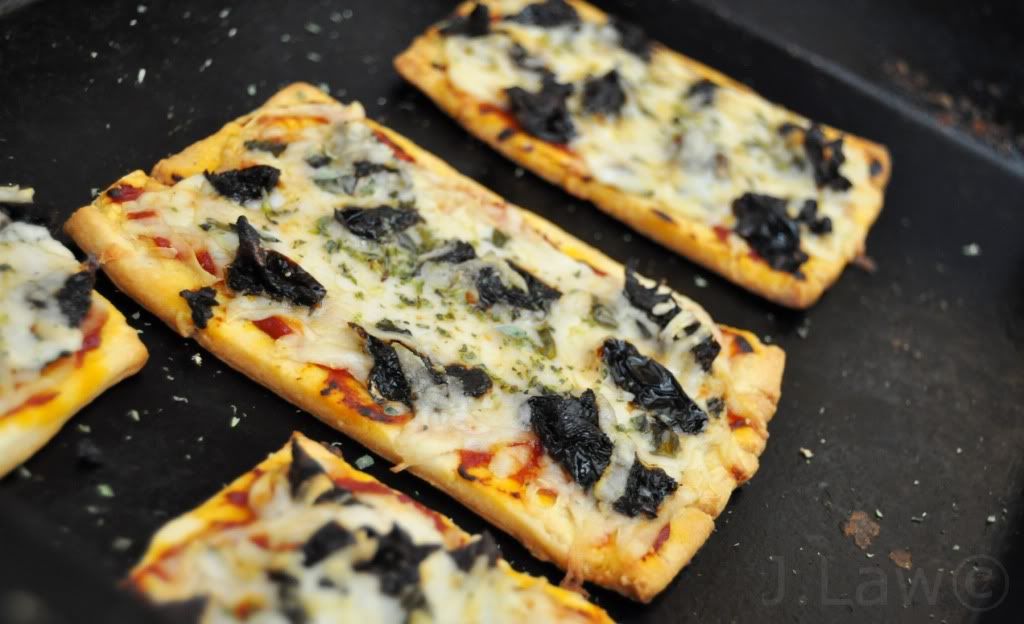
Nevertheless, here's the first of today's offerings (actually cooked about a week ago, but lost in the backlog!); Pizza slices!
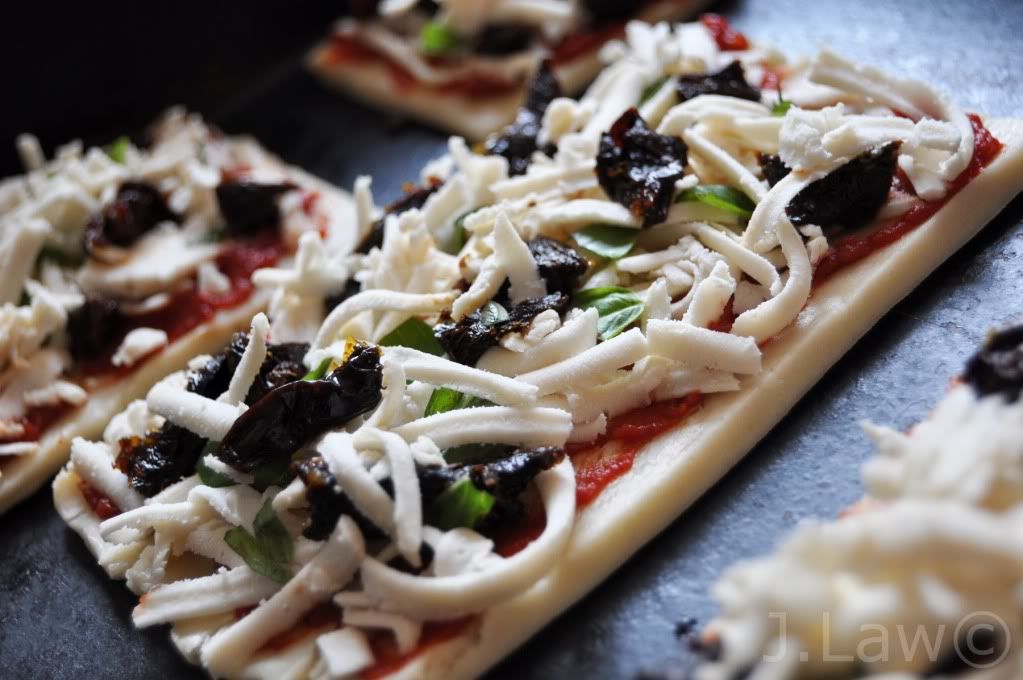
Now, the reason I say 'pizza slices', as opposed to pizza, is because they're a little different. Instead of circular pizzas on a standard base, they are rectangular slices of shortcrust pastry, topped with tomato purée, plenty of fresh basil picked from my basil plant, chopped sundried tomatoes, and liberal sprinkles of 'mozarella-style' Cheezly.
Then baked for about 20 minutes and sprinkled with on-the-stem dried Greek oregano.
Jen x
I think the problem is that I cook too much food!
Nevertheless, here's the first of today's offerings (actually cooked about a week ago, but lost in the backlog!); Pizza slices!
Now, the reason I say 'pizza slices', as opposed to pizza, is because they're a little different. Instead of circular pizzas on a standard base, they are rectangular slices of shortcrust pastry, topped with tomato purée, plenty of fresh basil picked from my basil plant, chopped sundried tomatoes, and liberal sprinkles of 'mozarella-style' Cheezly.
Jen x
Sunday, 24 April 2011
Quinoa salad, and roast root vegetables
I made these ages ago, but with the massive backlog of things to post here, I'm only just posting them...
Root vegetables (potatoes, butternut squash and carrots), roast in olive oil with salt, pepper, nutmeg and rosemary. Mmmm...
Root vegetables (potatoes, butternut squash and carrots), roast in olive oil with salt, pepper, nutmeg and rosemary. Mmmm...
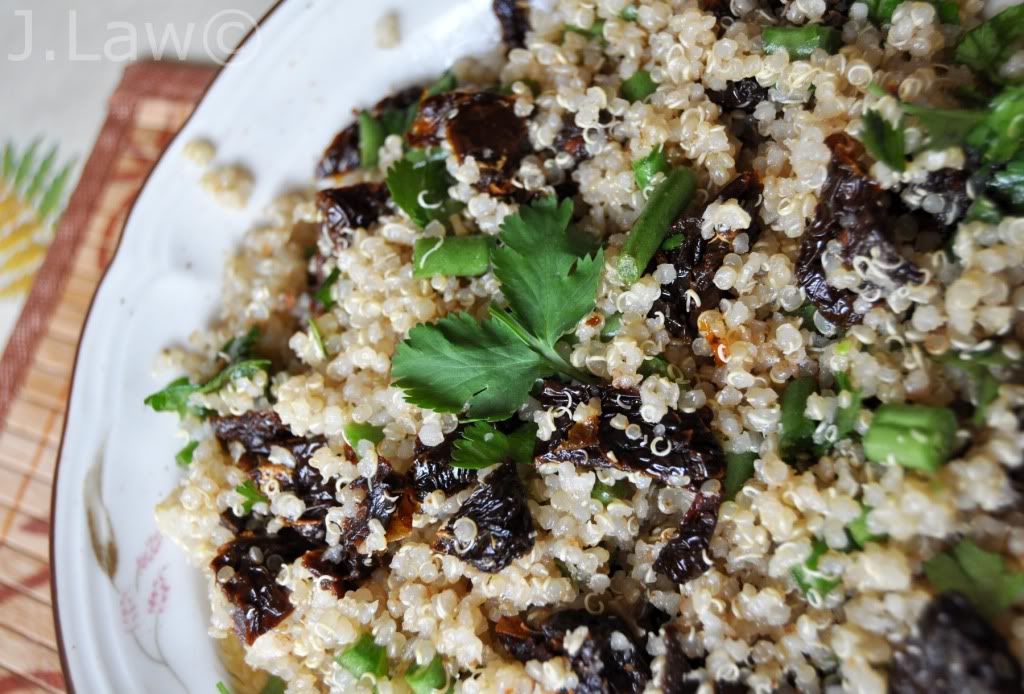
I also made a Quinoa salad for lunch lately from some leftover quinoa from the previous night's dinner.
I crumbled a vegetable stock cube over the quinoa and stirred-in some chopped sundried tomatoes and green beans, and some torn fresh coriander.
Served with a simple mixed salad with a homemade 'honey' and mustard dressing - Agave nectar, virgin olive oil, fine french mustard, standard vinegar, salt and pepper, mixed well! Then sprinkled with mixed seeds.
Jen x
Houmous & Raw Green Veg Salad
Yesterday's lunch was a simple, but delicious, one; caramelised onion houmous with crudités and sundried tomatoes.
I also made a raw green vegetable salad of broccoli, sugar snap peas and green beans, with a drizzle of sweet chili sauce and a sprinkle of sesame seeds.
Jen x
I also made a raw green vegetable salad of broccoli, sugar snap peas and green beans, with a drizzle of sweet chili sauce and a sprinkle of sesame seeds.
Baked Apples
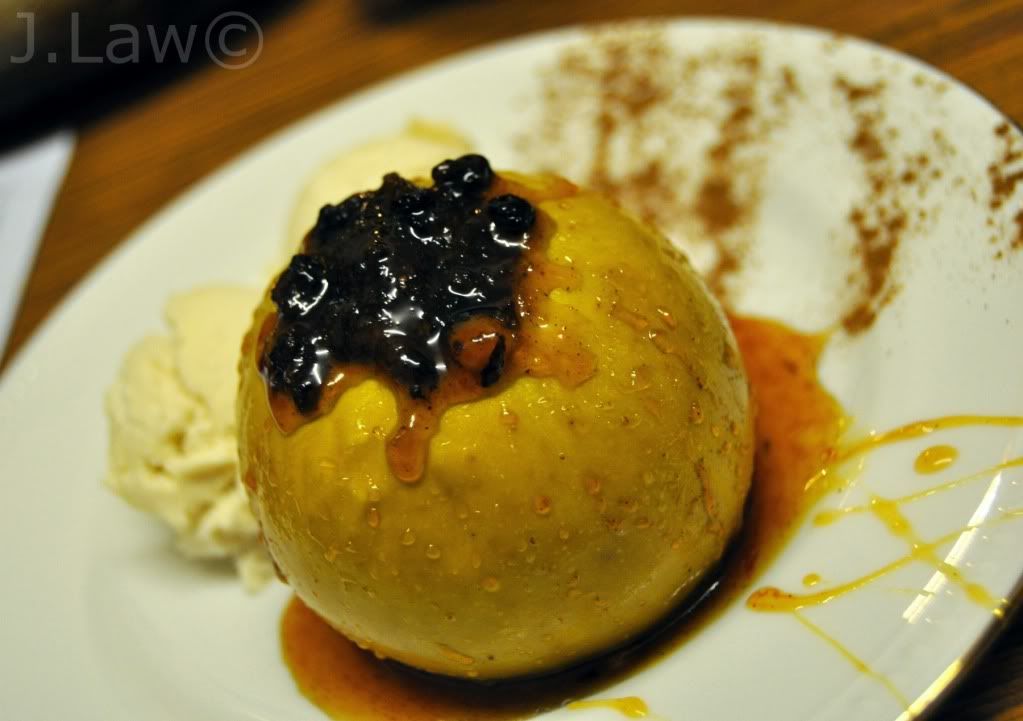
After the mini quiches, we had baked apples for desert.
They're pretty simple (and cheap!) to make, but absolutely delicious!
Simply core an apple and fill it with either a homemade mixture of raisins, sultanas, cinnamon, ground cloves, brown sugar & a little port...or just a pre-made mincemeat :P
Then, drizzle it with golden syrup and a sprinkle of cinnamon, then bake for about 25 mins.
Serve with vanilla ice cream (i.e. Swedish glace ).
Jen x
They're pretty simple (and cheap!) to make, but absolutely delicious!
Simply core an apple and fill it with either a homemade mixture of raisins, sultanas, cinnamon, ground cloves, brown sugar & a little port...or just a pre-made mincemeat :P
Then, drizzle it with golden syrup and a sprinkle of cinnamon, then bake for about 25 mins.
Serve with vanilla ice cream (i.e. Swedish glace ).
Vegan Quiche!
I've developed rather a backlog of things to post here, so expect several entries in a short space of time!
Firstly, after making cheeseless cheesecake, I figured I needed another similar challenge and went for eggless quiche!
It was basically a mixture of silken tofu and a soya cream, with turmeric, chopped chives, salt & pepper, chunks of 'gouda-style' cheezly and finely chopped vegetables, thickened with a little cornstarch. This was all mixed together and put on a base of shortcrust pastry in little silicone cake moulds, topped with a little more gouda-style cheezly, then baked for about 20-30 minutes.
Instead of normal 'single' soya cream, I used a special gratin cream I bought back from France. It's thicker and has a more savory taste.
The final quiches were absolutely delicious!
Mmmmmmmmm...
Jen x
Monday, 11 April 2011
Chai tea latte
Chai tea latte is simple and quick, but full of fantastically healthy things and absolutely delicious.
Some make it without any actual tea and, unfortunately, one of the more commonly used chai syrups in coffee shops (e.g. starbucks) contains honey, which is no good for vegans!
Overall, it's better, not to mention nicer, to make it yourself. So this is how I make it...
(makes about 3 mugs-full, or 6 or so teacups)
Put three cups (i.e. mugs) of cold water in a saucepan and add lots of peeled and chopped fresh ginger, to your taste, as well as 2 sticks of cinnamon, a teaspoonful of cloves, up to 5 cardamom pods, 2-4 black peppercorns and 2 star anise stars. Then stir-in a tablespoon of agave nectar. You can use sugar, and i've used date syrup in the past too, but I find the slight warm honey-like taste of agave to work best here.
Multiply these ingredients as required for the amount you want to make, but keep the cardamom and star anise the same as these will start to make it taste all wrong in higher amounts!
Then just put it on a medium heat for about 10 mins or so. About 1-2 minutes before taking it off the heat, add 2 teabags of black tea (or 2 teaspoons of loose tea in a tea infuser).
Take out the large pieces (i.e. the cinnamon and star anise), then pour it through a sieve into a jug or individual cups. Then mix it in equal proportions with hot milk of your choice. If using soya, I'd recommend using 1/2 sweetened and 1/2 unsweetened.
It goes nicely with some kind of chocolatey treat, like yesterdays' Cake pops! mmmm....
Jen xx
Sunday, 10 April 2011
Cake Pops!
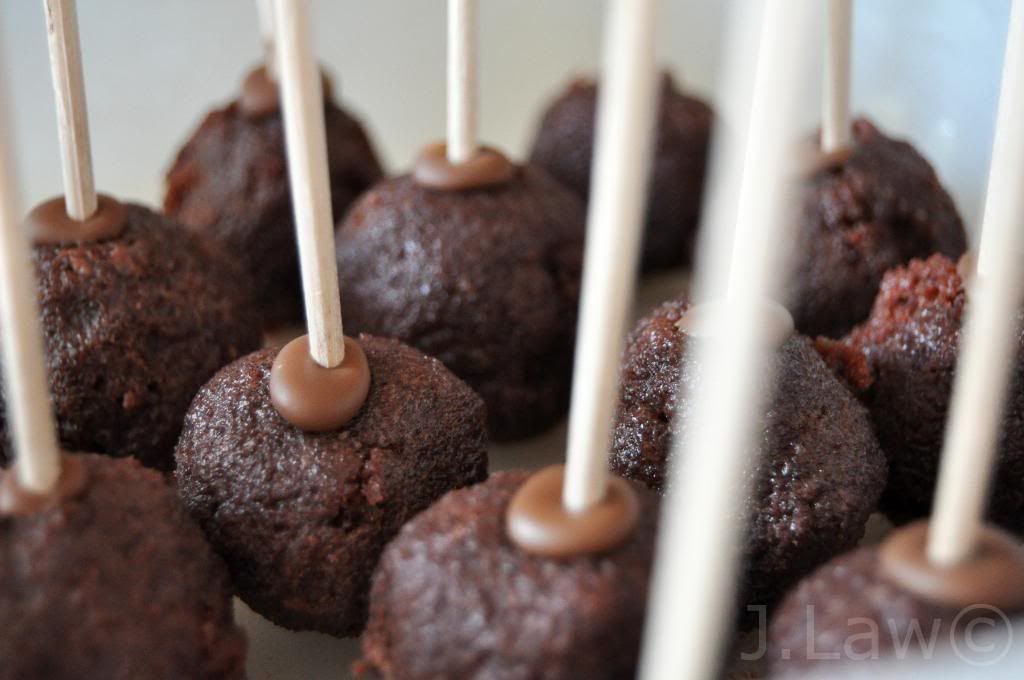
Today's offering is Cake Pops! Yes, cake pops!
They're essentially balls of dense, rich cake on lollipop sticks, coated with icing or (in this case) chocolate.
I've been meaning to make these for ages and only just got round to it today but, oh, they were worth it!
These cute little things would be ideal for birthdays or parties...or for random sundays!
They're easy to make, but time consuming, to say the least!
Basically, you bake a cake, then wait for it to cool. You then tear it up into crumbs and mix it with (for a cake of around 20cm diameter) 1-2 tablespoons of 'butter'cream icing and stir it well. Roll it into balls of a 2-3cm diameter, then leave them to chill for 20 minutes or so to solidify a little...Or just put them in the freezer for 5 minutes!
Then, dip the lollipop sticks in a little melted chocolate and push them into the cake mix. Leave them to set for a bit, ideally in the fridge. Then decorate as you wish.
Now, lollipop sticks can be hard to get hold of, so I used an easier, not to mention cheaper and more eco-friendly, alternative; cut-up bamboo skewers for barbecuing. In the UK, you can get packs of 200 from the 99p store, and you can cut each one into 2-3 lollipop sticks.
And the final product...
I displayed them like that solely for aesthetic purposes, of course! I made the 'stand' out of re-used plastic take-away boxes with holes pierced in the lid.
Jen xx
More cake!
Once again, I have a lot to update about, but i'm going to start with another post about cake...because you can never have too much cake!
I made two over the last week or so; a classic vanilla sponge cake with raspberry jam and fondant icing for mothers' day, and a chocolate cake for my brothers birthday.
Firstly, the sponge cake.
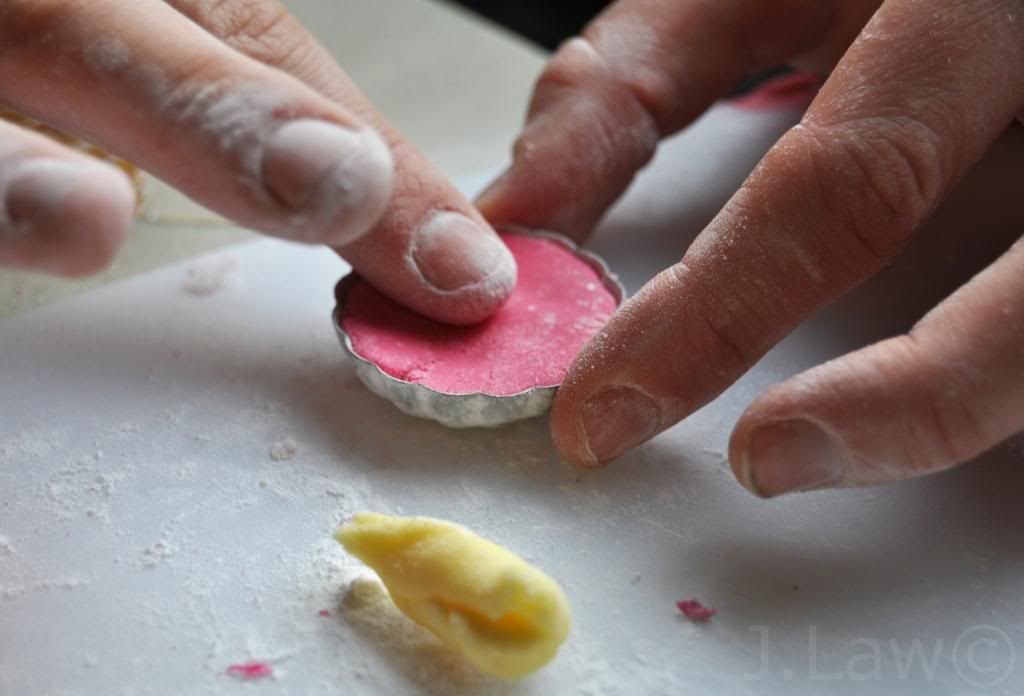
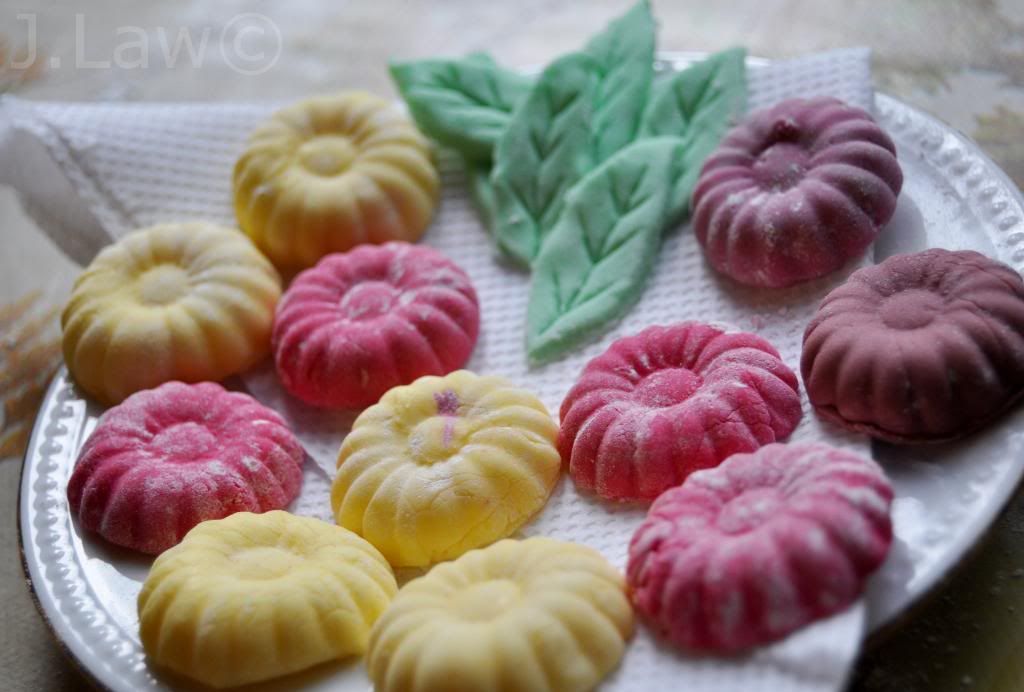
I bought some ready-made fondant icing and added-in some food colouring.
I found some cute little moulds in a local vintage market and while I was using those to make cake decorations, my girlfriend was using the spare icing to make icing pigs, on their own little patch of grass!
I used a vaguely flower-shaped mould, and made little leaves too.
Ignore the writing, I messed it up somewhat :P but otherwise, here's what it ended up looking like:
When I made the other cake, i was planning to make cake pops, which involves tearing apart and crumbling a cake. But i accidentally made the most perfect cake i've ever seen and couldn't bring myself to do that!
Jen xx
I made two over the last week or so; a classic vanilla sponge cake with raspberry jam and fondant icing for mothers' day, and a chocolate cake for my brothers birthday.
Firstly, the sponge cake.
I bought some ready-made fondant icing and added-in some food colouring.
I found some cute little moulds in a local vintage market and while I was using those to make cake decorations, my girlfriend was using the spare icing to make icing pigs, on their own little patch of grass!
I used a vaguely flower-shaped mould, and made little leaves too.
Ignore the writing, I messed it up somewhat :P but otherwise, here's what it ended up looking like:
So I iced it with a chocolate 'butter'cream icing and grated chocolate (dark, 'milk' and white):
Jen xx
Wednesday, 6 April 2011
Toffee and fudge
Now, I make a lot of toffee; both set toffees in different flavours (such as vanilla and rum) and also toffee sauces. But today, I was determined to make toffees without having enough margarine. I'm also not at home so am working with cooking equipment I'm not used to...
I knew something would go wrong, but little did I know I'd end up with both toffee and fudge, swirled together!
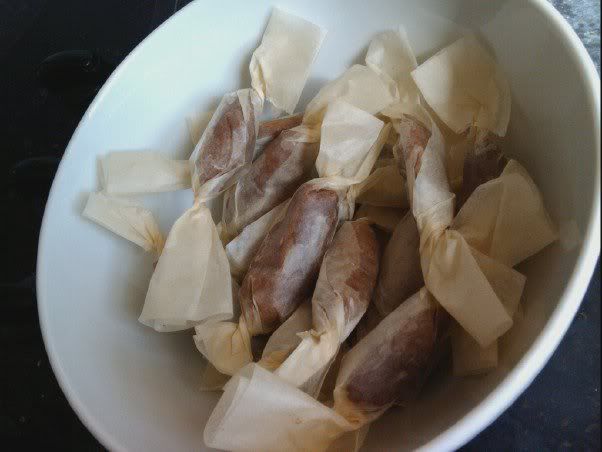
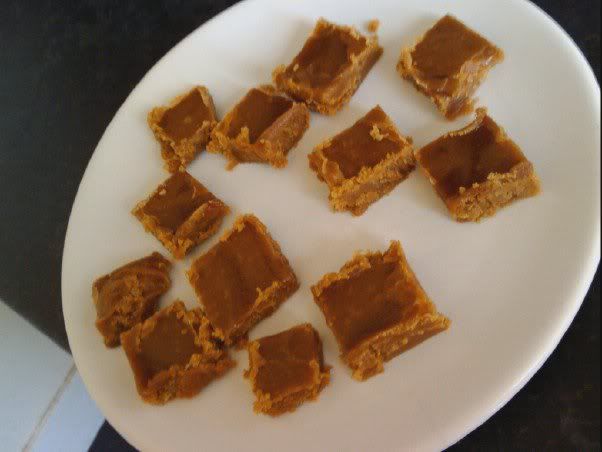
I cut out the fudge bits, and rolled the toffee in greaseproof paper, et voila! I don't have my camera here, so my apologies for the terrible phone photos!
Toffee:
Fudge:
When I'm at home again, I'll do a proper tutorial/recipe on how to make toffee. Properly!
Jen x
Sunday, 3 April 2011
Porridge
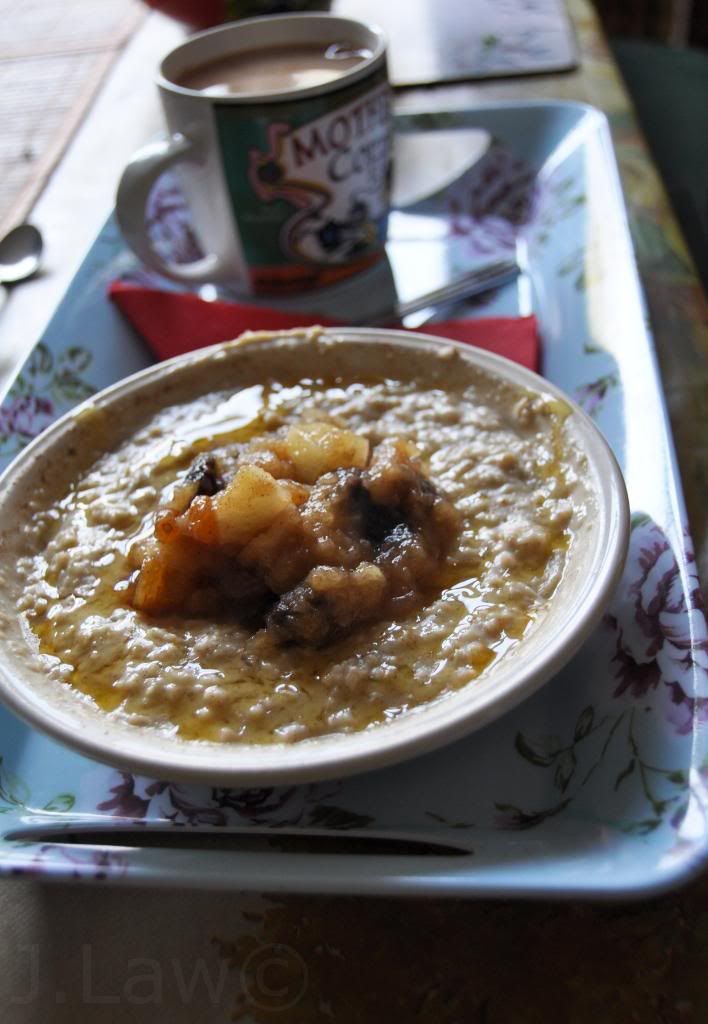
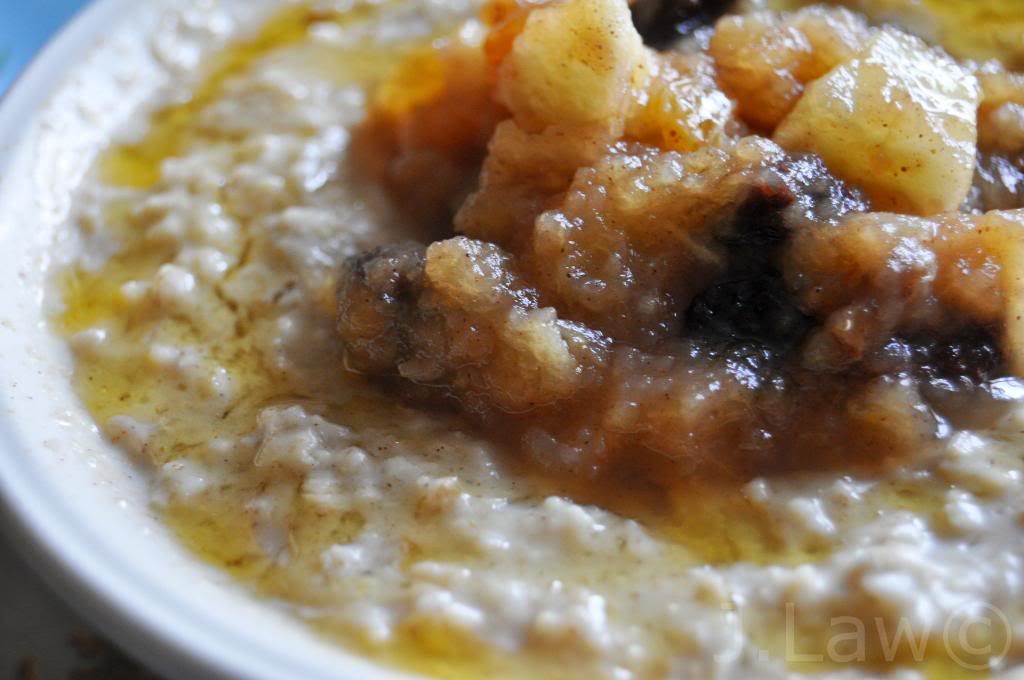
I started mothers' day by taking my mum a breakfast in bed of vanilla & cinnamon porridge, with an apple, mixed raisin and cinnamon sauce, and a little drizzle of golden syrup.
Jen x
Saturday, 2 April 2011
CHEESECAKE!!
Making cheesecake without cheese may sound a difficult task, but I think it may actually be easier to make than normal cheesecake!
Like i've said before, I'm terrible at recipes as I don't generally use them, but I'm going to do the best I can and attempt to go through the stages of how it's made, because it's just that awesome that I hope you all go try it!
For the base, I just use some kind of vegan digestive or oat biscuit. Vegan digestives are harder to find, so I tend to go for the oat biscuit instead - hobnobs, for example. Then mix this in with melted non-dairy margarine.
If you don't have a blender, you can do the classic old trick of filling a sandwich bag with biscuits and just literally hammering it against a table until they get suitably crushed. Otherwise, just throw a load of biscuits in a blender.
There are two main varieties of cheesecake I make; choc-orange, and summer fruits. Today, I made the latter.
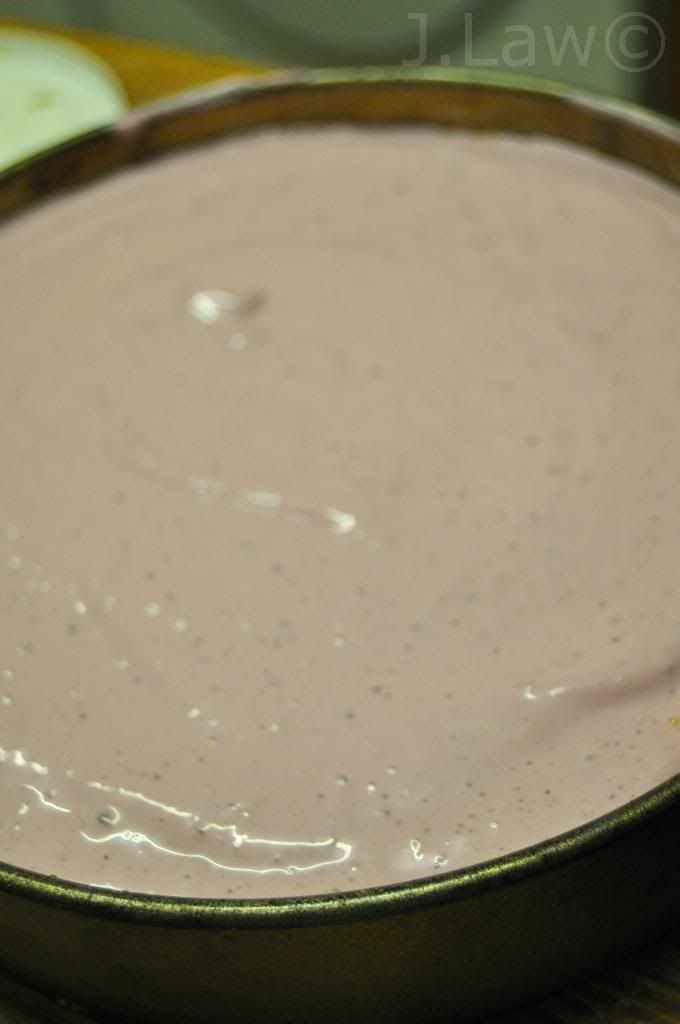
For the filling, I mix a whole block of silken tofu (and it must be silken tofu) in a blender with almost a whole tub of plain vegan cream cheese, the juice of half a lemon, about a tablespoon of agave nectar, and the relevant other ingredients; in this case, (defrosted!) frozen summer fruits.
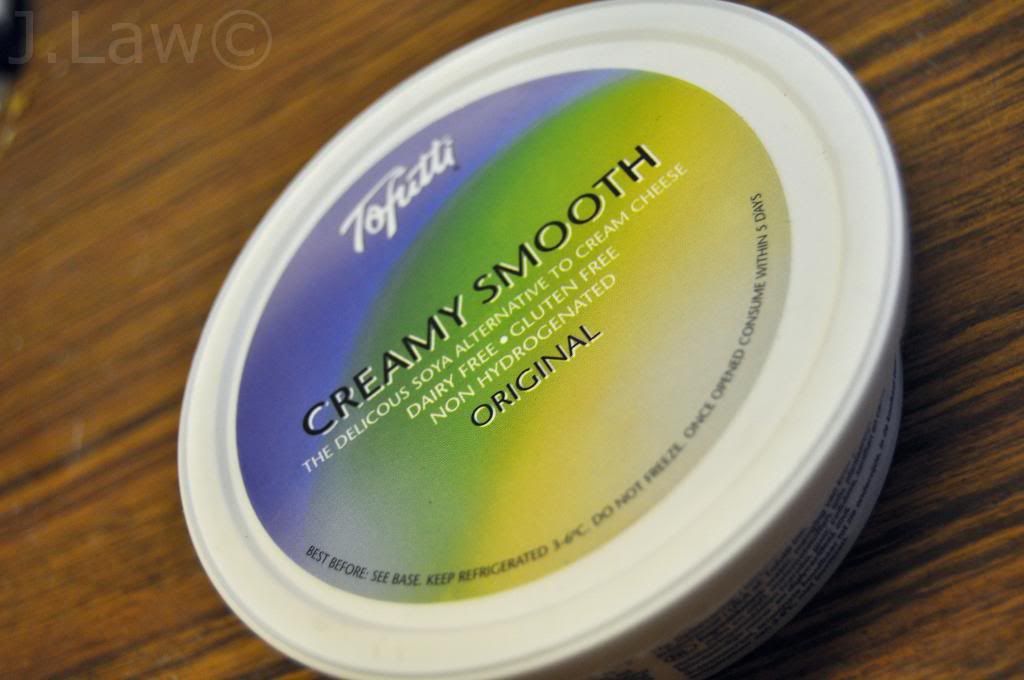
While it's very much not the best vegan cream cheese, I usually use tofutti for this because of it's slightly sweet flavour.
You basically just squish the base right into a cake tin, and smooth out the top with the back of a spoon, then pour in the filling.
You then put it in the oven at around 180 degrees for about 25-30 mins, until it looks like this:
You then leave it to cool for about half an hour, then put it in the fridge until it's completely cool and set.
Meanwhile, you make the topping, which is a kind of summer fruit compote. I make this with the same frozen fruit as the filling, but lots of it, with water and agave nectar, and mix-in some raspberry jam, with a small sprinkle of agar flakes - agar is a sea vegetable that works as a vegan gelling agent. You can generally find it in independent health food shops. It's pretty expensive, but you only need a little of it. Otherwise, try pectin, or 'vege-gel'.
Once the cheesecake is set, run a clean knife around the edges to loosen it, then push up the base of the cake tin (FYI; if you don't have a cake tin, just cook it in some other kind of circular tin/glass dish and serve it out of that). A nice little tip for putting it on a plate neatly: put a plate upside-down over the top of it, then turn it upside-down. Then, you can take the metal cake tin plate off the bottom and replace it with a plate, then flip it back over.
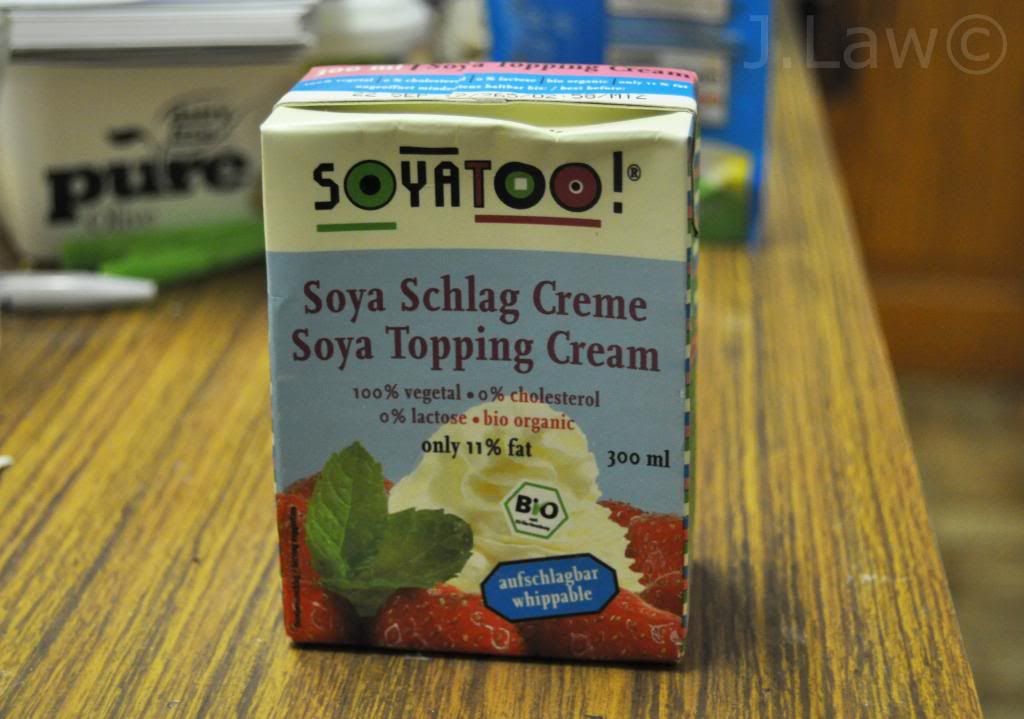
Then, you put the compote on top and spread it with a knife. I like to serve it with soya whipping cream. I don't actually bother whipping it because it never seems to make much of a difference and it's got a nice thickness as it is.
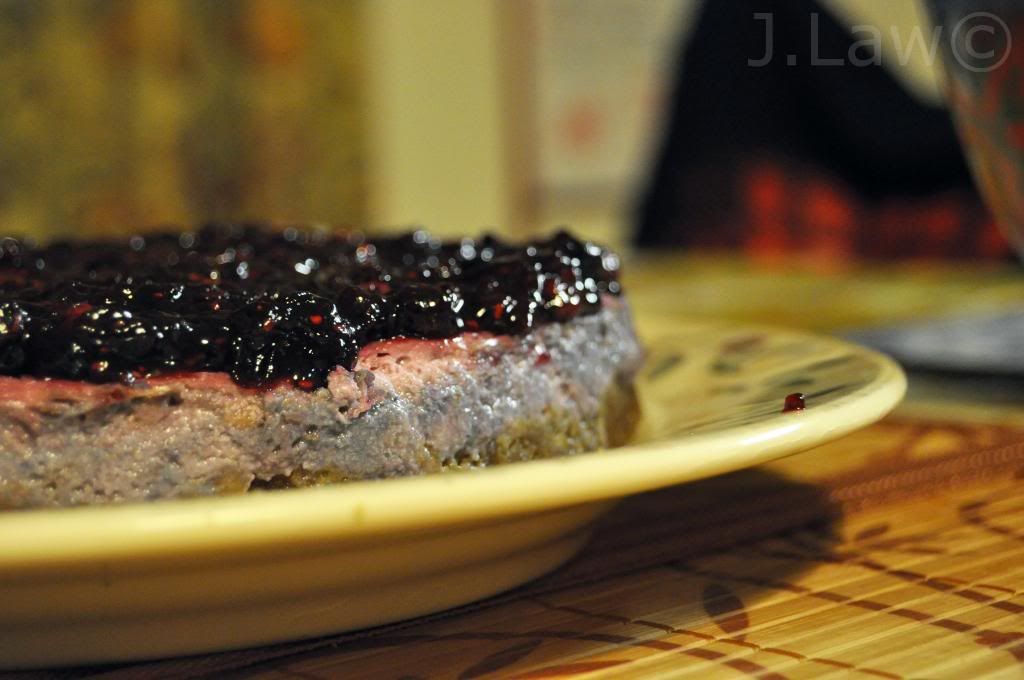
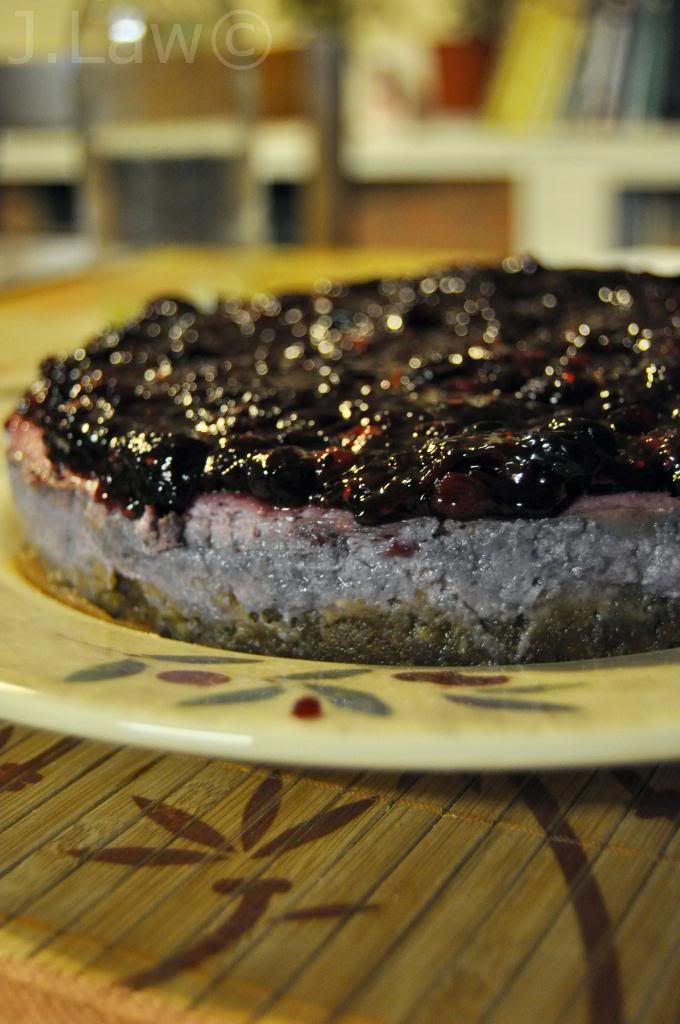
The final cheesecake looks like this. The inedible-looking blueness is nothing to worry about, it's thanks to the blueberries!
Jen x
Potato Gratin!
Right, next thing I made today; Potato Gratin.
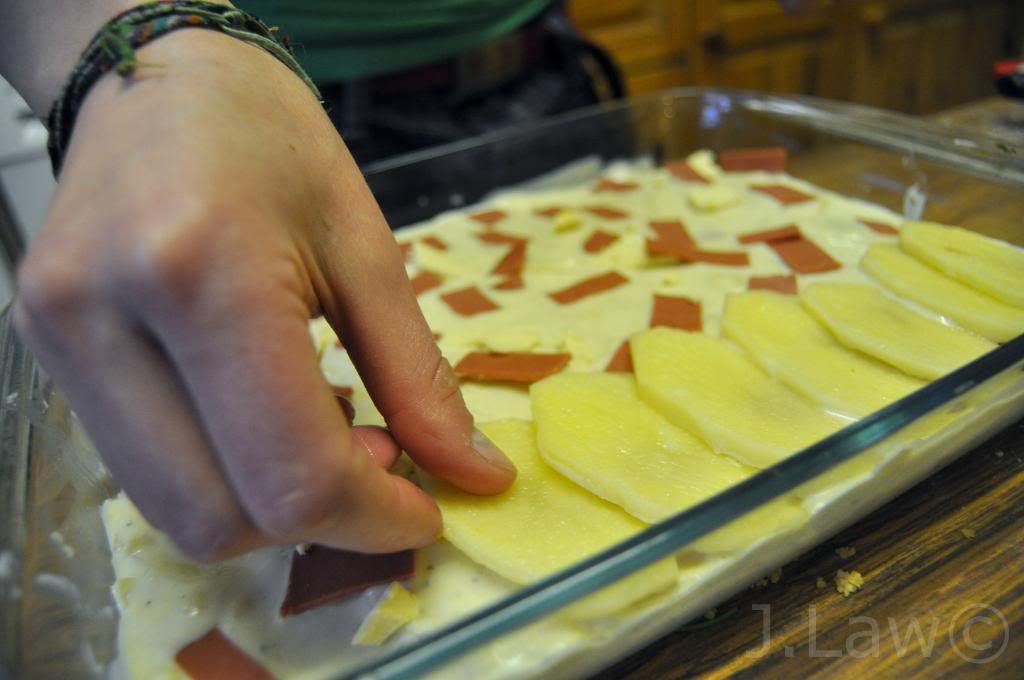
It's essentially a baked dish of finely-sliced potato, in a (soya) cream sauce, with chunks of vegan 'bacon', and topped with 'gouda-style' cheezly. Most importantly, it is delicious!
To make the cream sauce, I basically made a normal white sauce (I say 'normal', but obviously, the butter was changed to non-dairy margarine, and the milk to soya milk), but mixed in soya cream and extra margarine, with salt, some 'parmazano' alternative to parmesan, and plenty of freshly-ground black pepper.
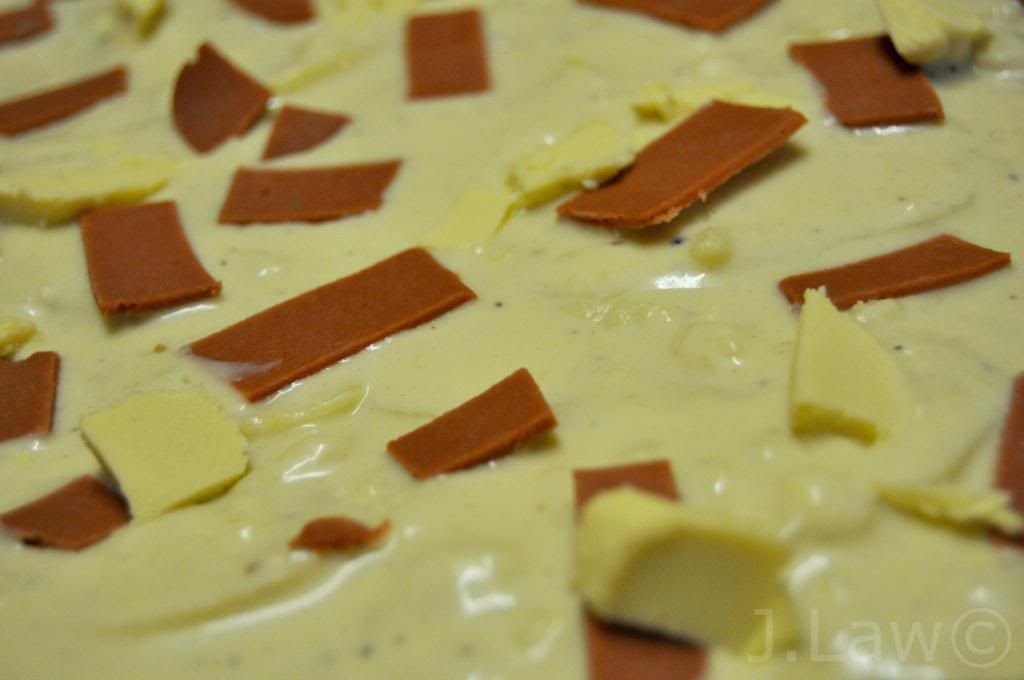
As well as the 'bacon', I also put bits of the cheese between the potato layers too:
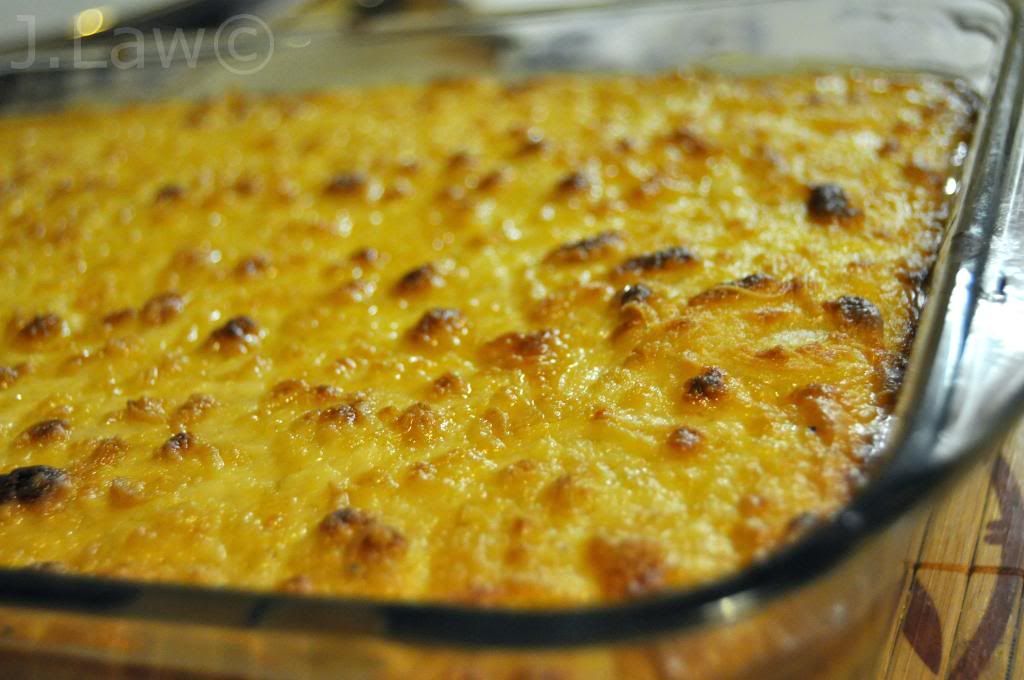
The topping went all golden and crispy, mmmm!!
Jen x
It's essentially a baked dish of finely-sliced potato, in a (soya) cream sauce, with chunks of vegan 'bacon', and topped with 'gouda-style' cheezly. Most importantly, it is delicious!
To make the cream sauce, I basically made a normal white sauce (I say 'normal', but obviously, the butter was changed to non-dairy margarine, and the milk to soya milk), but mixed in soya cream and extra margarine, with salt, some 'parmazano' alternative to parmesan, and plenty of freshly-ground black pepper.
As well as the 'bacon', I also put bits of the cheese between the potato layers too:
The topping went all golden and crispy, mmmm!!
Bread!
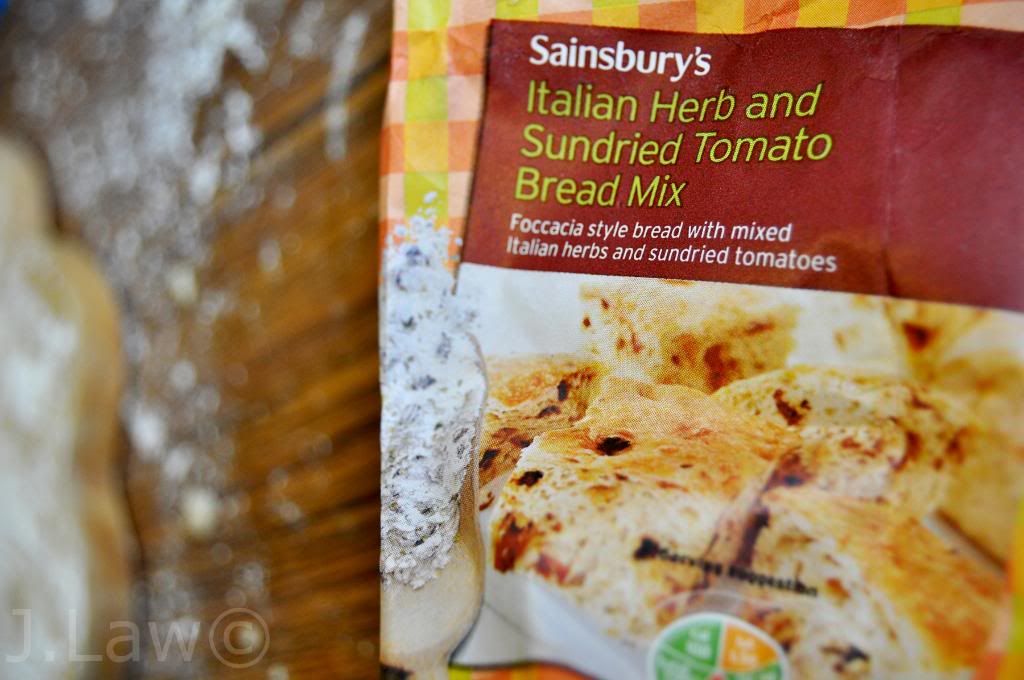
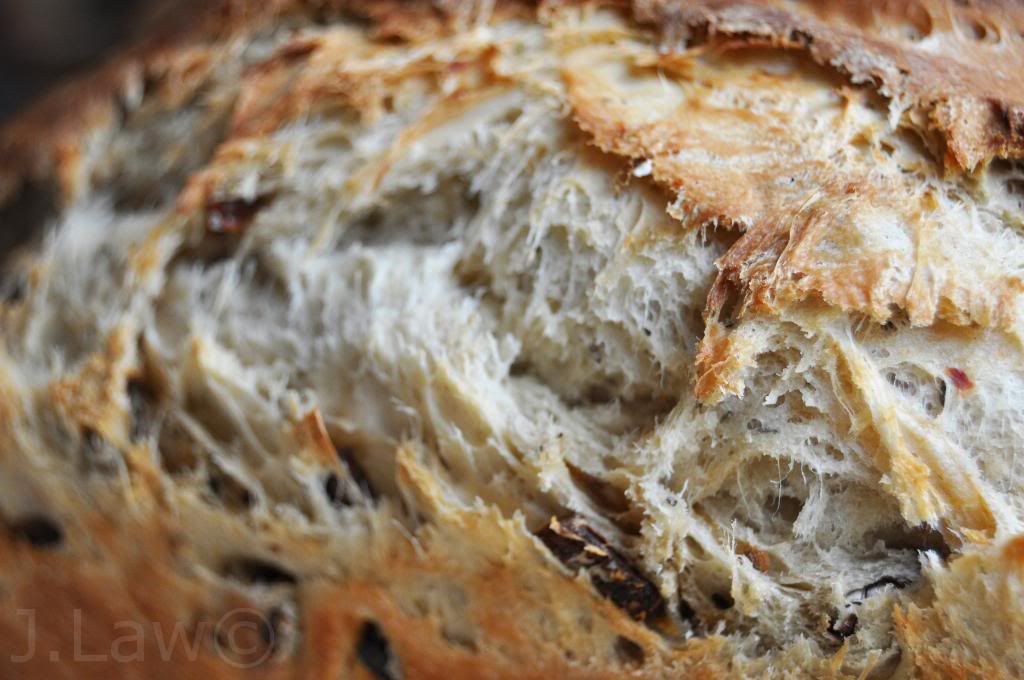
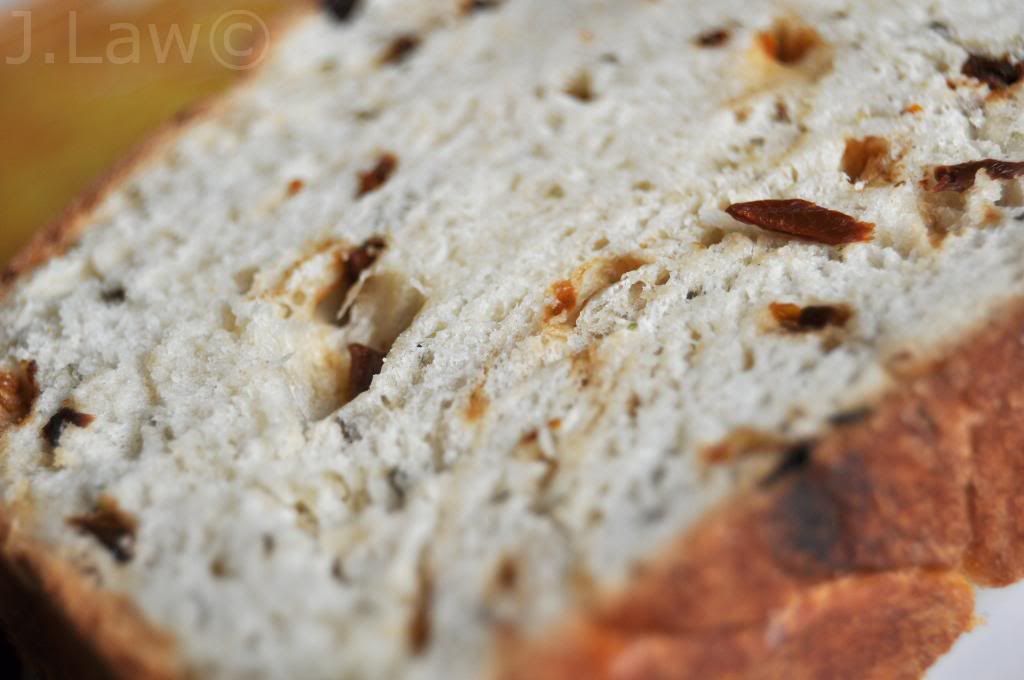
Normally, I wouldn't see the point of making homemade bread unless you're going to make it properly. However, Sainsbury's make an awesome bread mix of italian herbs & sundried tomato foccacia-style bread, and it's easily some of the best bread i've ever had.
Mmmmm :)
I've cooked a lot of ridiculously excessive food lately, so I'll be doing several more posts today, separated out to avoid writing one monster of a post :P
Jen x
Subscribe to:
Comments (Atom)
